
On this page
- Why You Need to Blur Faces in Video Before Publishing
- Method 1: Automatic AI Face Detection (Fastest for Multi-Person Footage)
- Method 2: Manual Motion Tracking (Best Control for Single Subjects)
- Method 3: YouTube Studio Post-Upload Blur (Only for Already-Published Videos)
- 5 Common Mistakes That Compromise Privacy (And How to Fix Them)
- Quick Comparison: Which Method Should You Use?
- Best Practices for Privacy-First Video Production
Why You Need to Blur Faces in Video Before Publishing
Blurring faces in video isn't just a courtesy—it's often a legal requirement. In the EU, GDPR classifies recognizable faces as personal data, requiring explicit consent before you can publish footage containing identifiable individuals. California's CCPA imposes similar restrictions. Publishing video without proper consent can result in complaints, fines up to €20 million, or legal disputes that drag on for months.
Beyond legal compliance, face blurring protects vulnerable individuals from unwanted attention. Journalists blur sources in investigative documentaries. Activists protect protestors from government identification. Parents shield their children from online predators. Even casual vloggers blur strangers who happened to walk through their B-roll footage—because once video goes online, you've lost control over who downloads, screenshots, or re-shares that content.
The key phrase here is "before you post it." Many creators make the fatal mistake of publishing first, then attempting to blur faces using YouTube Studio's post-upload tools. But during those critical minutes or hours between upload and edit, your original footage sits publicly accessible. Tech-savvy viewers can download the unblurred version using browser extensions or third-party tools. That downloaded copy lives forever, completely outside your control. Proper anonymization must happen during pre-production or editing—never after the video goes live.
According to [cyberlink.com](https://www.cyberlink.com/blog/app-video-editing/2570/how-to-blur-face-in-video), the three main use cases for face blurring include respecting others' privacy in public spaces, protecting someone's anonymity when they participate in interviews or testimonials, and adding dramatic visual effects like face reveals in narrative content. Regardless of your reason, understanding how to blur a face in a video properly prevents privacy violations and builds trust with your audience.
Method 1: Automatic AI Face Detection (Fastest for Multi-Person Footage)
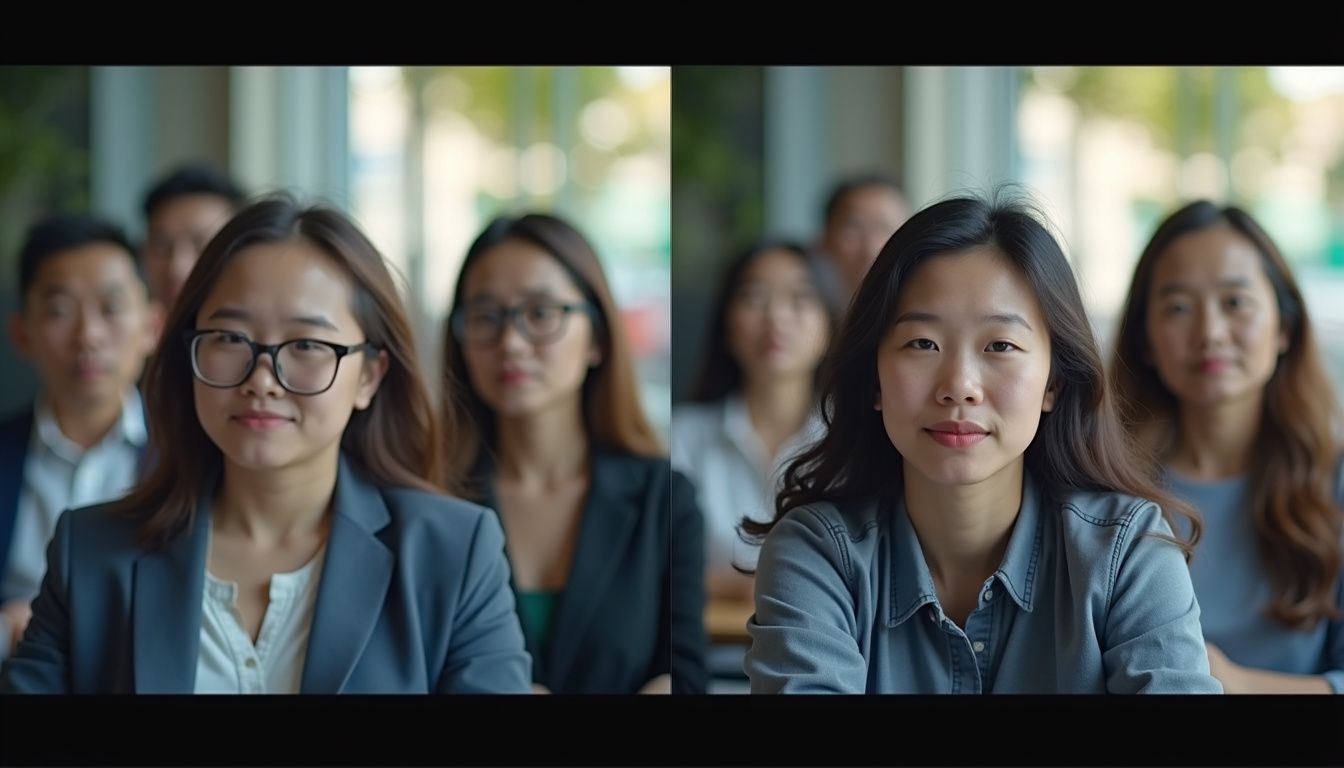
AI-powered face detection tools scan every frame of your footage, automatically identify all visible faces, and apply tracking blur without manual intervention. This method excels when you're working with event footage, classroom recordings, street interviews, or any scene containing 5+ people moving through the frame. The AI handles the tedious work of tracking each face as subjects turn, walk, or cross in front of each other.
Modern AI face recognition has improved dramatically since 2024. Tools like VEED.IO, Movavi Video Editor, and Blurit.app now detect faces at various angles, through partial obstructions, and even in moderate low-light conditions. According to [movavi.com](https://www.movavi.com/tools/blur-face-in-video/), Movavi's AI motion tracking automatically follows faces through every frame with zero manual keyframing—the software analyzes movement patterns and maintains consistent blur even through fast camera pans or sudden direction changes.
Here's how to blur faces in video using VEED.IO's free tier (processing time: 3-5 minutes for a 10-minute video):
- Upload your video file at veed.io and wait for it to load into the browser-based editor
- Click the Effects panel on the left sidebar, then select Blur Face from the effect options
- The AI automatically scans your entire video and highlights all detected faces with blue bounding boxes
- Toggle individual face boxes on or off if you want certain people to remain visible (useful for interview subjects versus background pedestrians)
- Adjust blur intensity from 0-100 using the slider—set it to at least 70 for effective anonymization
- Choose your blur style: gaussian blur creates a smooth haze, while pixelate face produces a mosaic effect
- Click the preview button and scrub through your timeline to verify the AI tracked all faces correctly
- Hit Export and download your blurred video file
The primary limitation of automatic detection, as noted by [blur.me](https://www.blur.me/blog/how-to-blur-faces-in-video-tutorial-us/), is that AI struggles with side profiles, partially obscured faces behind objects, and subjects who turn completely away from camera. You'll see detection gaps during fast whip pans or when lighting conditions shift dramatically mid-scene. Most AI tools also require cloud processing, meaning you're uploading potentially sensitive footage to third-party servers—a consideration for confidential content.
Method 2: Manual Motion Tracking (Best Control for Single Subjects)
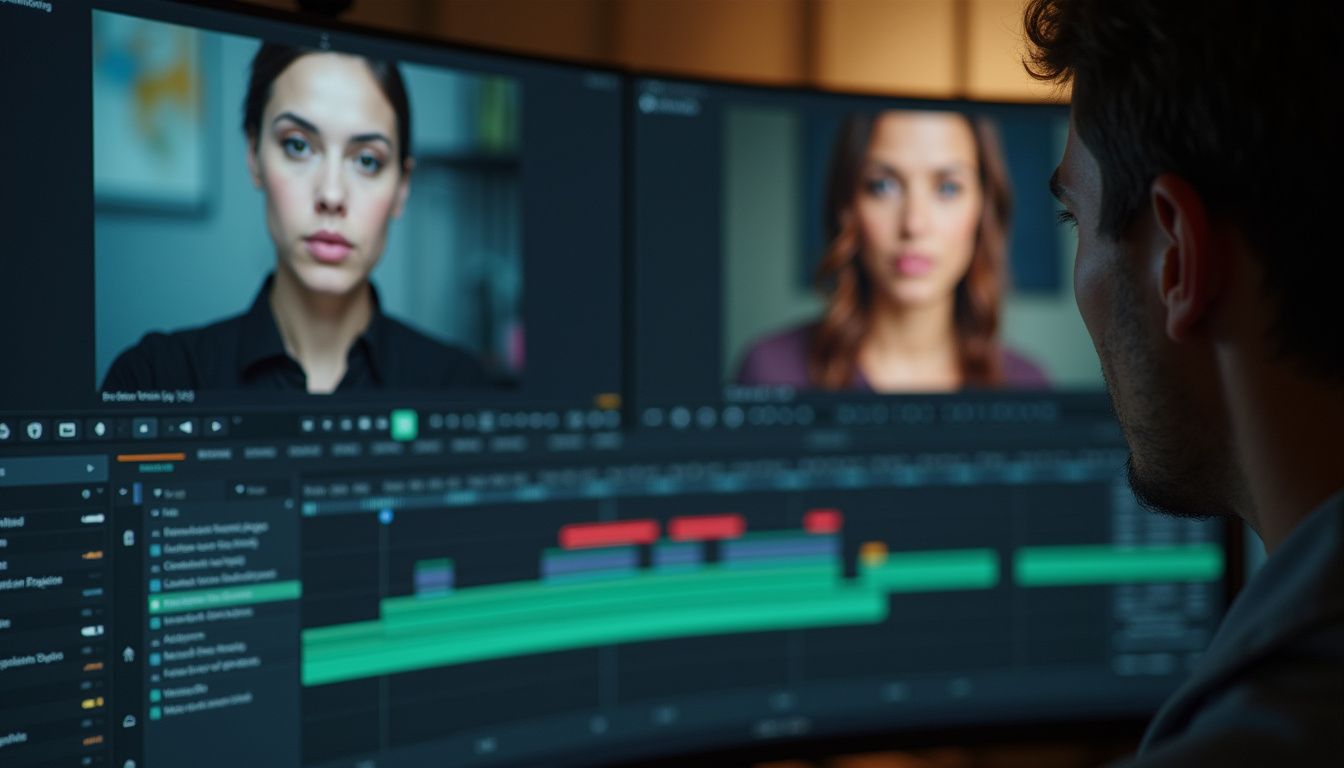
Motion tracking gives you pixel-perfect control by letting you manually draw a blur shape around a face, then having your editing software automatically follow that region across subsequent frames. Use this method when you need guaranteed privacy protection for one or two specific people—interview subjects, dashcam footage of license plates and faces, or documentary subjects who requested anonymization.
Professional editors prefer manual tracking for sensitive content because you maintain complete control over blur intensity, shape, and accuracy. Unlike AI detection that might miss frames, you can visually verify every second of footage. The tradeoff is time investment: expect to spend 5-10 minutes per minute of tracked footage, according to [blur.me](https://www.blur.me/blog/how-to-blur-faces-in-video-tutorial-us/), especially when fixing keyframe animation errors where the tracking drifts off the face.
Here's how to blur a face in a video using DaVinci Resolve's free version (available for Windows, Mac, and Linux):
- Import your video clip into DaVinci Resolve and drag it onto the timeline in the Edit page
- Switch to the Color tab at the bottom of the interface—this is where Resolve handles all masking and effects
- Click Window in the top menu bar and add either a Circle or Power Window shape (Power Window gives more precise custom shapes)
- Position and resize the shape to cover the face you want to blur—the shape appears as a highlighted outline on your preview
- Click the tracking icon (forward arrow) located in the tracker palette—Resolve begins analyzing the clip
- Let the tracker run forward through your footage—it will follow the face automatically based on pixel patterns and motion
- Once tracking completes, switch to the Blur panel in the sidebar and increase the Radius parameter until the face becomes completely unrecognizable (usually 40-60 depending on resolution)
- Scrub through your timeline manually to check for tracking errors—watch for moments when the subject turns quickly or moves off-screen
- Add keyframes to manually reposition the blur shape at any frames where tracking failed
- When satisfied, go to the Deliver tab and export your finished video
Motion tracking breaks down when your subject moves completely off-screen, when another person crosses directly in front of them, or during jump cuts that change the subject's position. You'll need to create a new tracking pass for each distinct clip or camera angle. [movavi.com](https://www.movavi.com/tools/blur-face-in-video/) notes that their software offers three tracking modes: Quick mode for simple shots, Precise mode for fine-tuning accuracy, and AI mode for complex footage—you can switch between them on the same clip without restarting the process.
Method 3: YouTube Studio Post-Upload Blur (Only for Already-Published Videos)
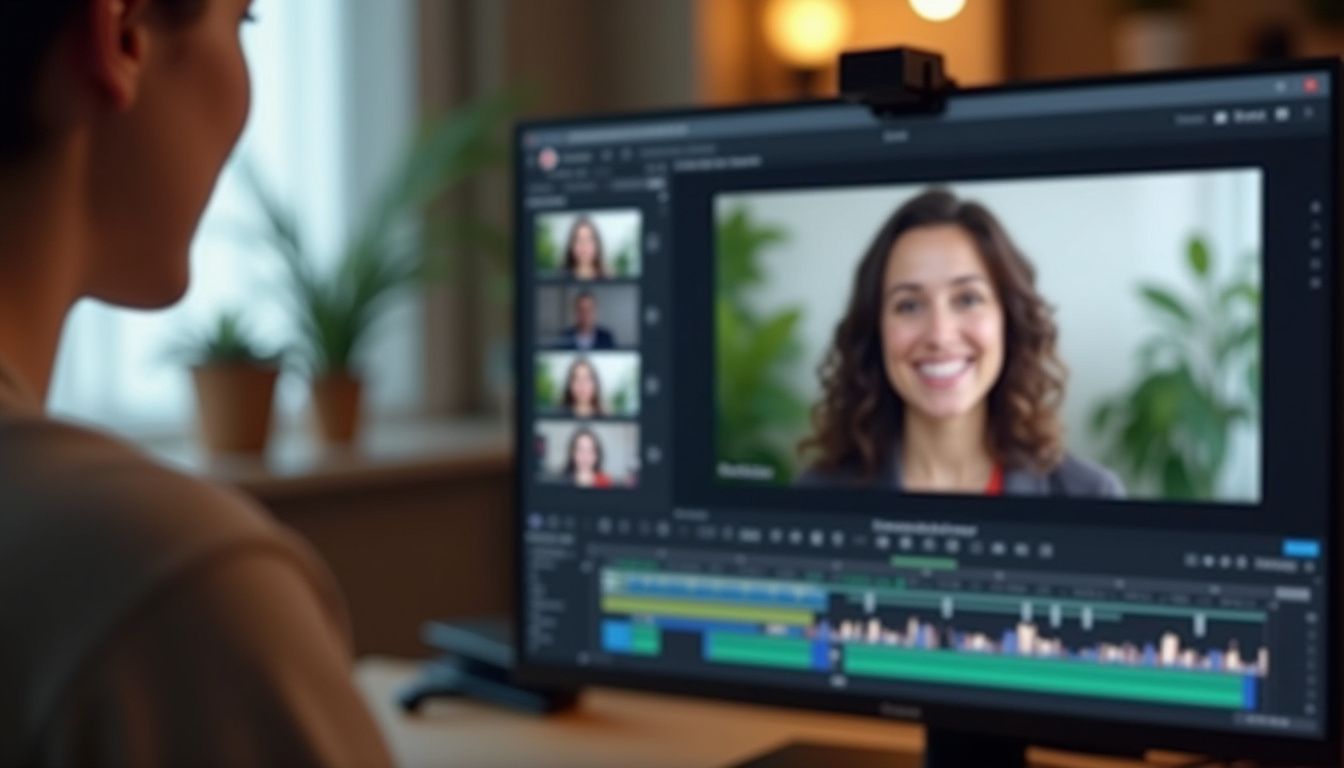
YouTube Studio offers built-in face blurring tools that work directly on videos already published to your channel. This method requires zero editing software and preserves your video's URL, view count, and comments. However, it comes with a critical limitation: your original unblurred footage sits publicly accessible from the moment you upload until you apply the blur. As [watermarkly.com](https://watermarkly.com/blog/how-to-blur-a-face-in-a-video/) explains, tech-savvy viewers can download the original version during that window using browser extensions or third-party downloaders.
YouTube's automatic Face Blur detection works surprisingly well for straightforward footage—frontal shots with good lighting and subjects looking toward camera. The system uses the same AI detection technology that powers Google Photos face recognition. But it struggles with the same edge cases as other AI tools: side profiles, fast movement, poor lighting, or partially obscured faces.
Here's the step-by-step process according to [watermarkly.com](https://watermarkly.com/blog/how-to-blur-a-face-in-a-video/):
- Log into your YouTube account and navigate to YouTube Studio
- Click Content in the left sidebar to see all your uploaded videos
- Select the video you want to edit by clicking on it
- Choose Editor from the menu options on the left side
- Click the Blur button and select either Face Blur (automatic) or Custom Blur (manual)
- If using Face Blur, YouTube automatically detects and highlights all faces with boxes—toggle them on or off individually
- If using Custom Blur, you manually draw blur boxes, choose the shape (rectangle or oval), and resize by dragging corners
- Position the blur box using your cursor, then adjust the duration using the timeline scrubber at the bottom
- Enable Track object if the person moves and you need the blur to follow them—leave it off for static blur positions
- Preview your changes by playing through the video
- Click Save to apply the blur permanently
YouTube's processing applies the blur destructively—as of June 2025, you cannot revert to the original video once you save changes. The system re-encodes your video with blur burned into the footage. This permanence means you should download a backup copy of your original video before using YouTube Studio's blur tools, in case you need to re-edit or apply different blur settings later.
This method works exclusively for YouTube content. If you need to blur faces for TikTok, Instagram Reels, or any other platform, you must use a proper video editor before uploading. The customization options are also limited compared to desktop software—you get basic shape, position, and tracking controls, but no fine-tuning of blur intensity, feathering, or advanced masking.
5 Common Mistakes That Compromise Privacy (And How to Fix Them)
Even experienced editors make critical errors that undermine face anonymization. [blurit.app](https://www.blurit.app/en/blog/flouter-visage-video-guide-2025/) identified five mistakes that appear in 60%+ of privacy-focused video content, each one potentially exposing someone's identity despite your blur efforts.
Mistake 1: Blur intensity too weak. A light blur that softens features but still reveals eye color, distinctive facial structure, or recognizable characteristics fails to provide real anonymization. Human brains are exceptional at pattern recognition—viewers can often identify people from partially blurred images, especially if they're familiar with the subject. Fix: Set blur radius to at least 70-80 on a 0-100 scale. Better yet, use pixelation (mosaic effect) rather than gaussian blur—pixelation completely destroys facial data instead of just softening it. Test your blur by showing the footage to someone who knows the person and asking if they can identify them.
Mistake 2: Missing faces in the background. Busy scenes with crowds, passing pedestrians, or people in the deep background are easy to overlook when you're focused on your main subject. Those background faces are just as identifiable and legally protected as foreground subjects. Fix: Use automatic AI detection to catch all faces, including distant ones. Zoom to 200-400% and scrub through your entire timeline methodically, checking every corner of the frame. Pay special attention to wide shots, establishing shots, and B-roll footage where your attention was on composition rather than privacy.
Mistake 3: Static blur on moving subjects. Drawing a blur shape and leaving it in one position works fine for security camera footage with a static frame, but fails instantly when people move. As soon as the subject steps outside your fixed blur zone, their face becomes fully visible again. Fix: Always enable motion tracking or use AI automatic detection on any footage where people move. Check your tracking by scrubbing through the timeline—the blur should stay centered on the face through walking, turning, and camera movement. Add manual keyframes at any point where tracking drifts off target.
Mistake 4: Forgetting reflections and screens. Faces appear in more places than you think: mirrors, shop windows, car windshields, phone screens, computer monitors, sunglasses, and any reflective surface. These indirect images are often sharp enough for identification but easy to miss during editing because your focus stays on direct shots. Fix: Watch your footage specifically looking for reflections. Blur faces in mirrors using the same methods as direct shots. Check any screens visible in frame—video calls, photos displayed on phones, or footage playing on monitors in the background all need blur if they show identifiable faces.
Mistake 5: Blurring after publication. This is the most dangerous mistake. Once your video goes public—even for 30 seconds—it can be downloaded, screenshotted, or re-shared. You lose all control over that original unblurred version. Even if you blur the faces later using YouTube Studio, the damage is done. Anyone who grabbed the original can re-upload it, use it as evidence, or share it on other platforms. Fix: Blur faces during editing before you export the final file. Never upload unblurred sensitive footage to any platform, even unlisted or private YouTube videos. Cloud platforms can be hacked, accounts can be compromised, and "private" content can become public through security failures or policy changes.
Quick Comparison: Which Method Should You Use?
Choosing the right blur method depends on your footage complexity, privacy requirements, and time constraints. Here's a practical comparison based on data from [blurit.app](https://www.blurit.app/en/blog/flouter-visage-video-guide-2025/) to help you decide:
Automatic AI Detection works best for event footage, crowd scenes, or any video with 5+ moving people. Processing time runs 5-10 minutes for a 10-minute video. Reliability is excellent on frontal faces with good lighting, but drops significantly for side profiles or fast movement. Cost ranges from free trials to one-time credit packs ($10-30 for 5-10 videos). Best tools: VEED.IO, Movavi Video Editor, Blurit.app. Choose this when speed matters more than perfection and you're working with standard shooting conditions.
Manual Motion Tracking delivers pixel-perfect results for interviews, testimonials, or any footage where 1-2 specific people need guaranteed anonymization. Time investment is significant: 1-3 hours for a 10-minute video when you factor in tracking setup, error correction, and keyframe adjustment. Reliability varies based on your skill level and patience—experts can achieve 100% accuracy, but beginners often miss frames. Cost is included if you already own editing software like DaVinci Resolve (free), Adobe Premiere Pro ($22.99/month), or Final Cut Pro ($299 one-time). Choose this for sensitive content where privacy failures could have legal or safety consequences.
YouTube Studio Post-Upload provides convenience for creators who've already published content and need to blur faces retroactively. Processing takes 15-30 minutes depending on video length and faces detected. Reliability is average—automatic detection works on 70-80% of faces in typical uploads, but you'll need Custom Blur for side profiles or poor lighting. Cost is free since it's built into YouTube. Major limitation: only works on YouTube videos, and your original unblurred footage was already public before you applied the effect. Choose this only when you forgot to blur before uploading and you're willing to accept that the original version may have been downloaded.
For maximum privacy protection, professional videographers combine methods: use AI detection for initial pass, then manual tracking to fix any faces the AI missed, and finally a frame-by-frame review at 4x zoom to catch reflections or background faces. This triple-check approach takes longer but guarantees anonymization—essential for journalists, activists, or anyone working with vulnerable populations.
Best Practices for Privacy-First Video Production
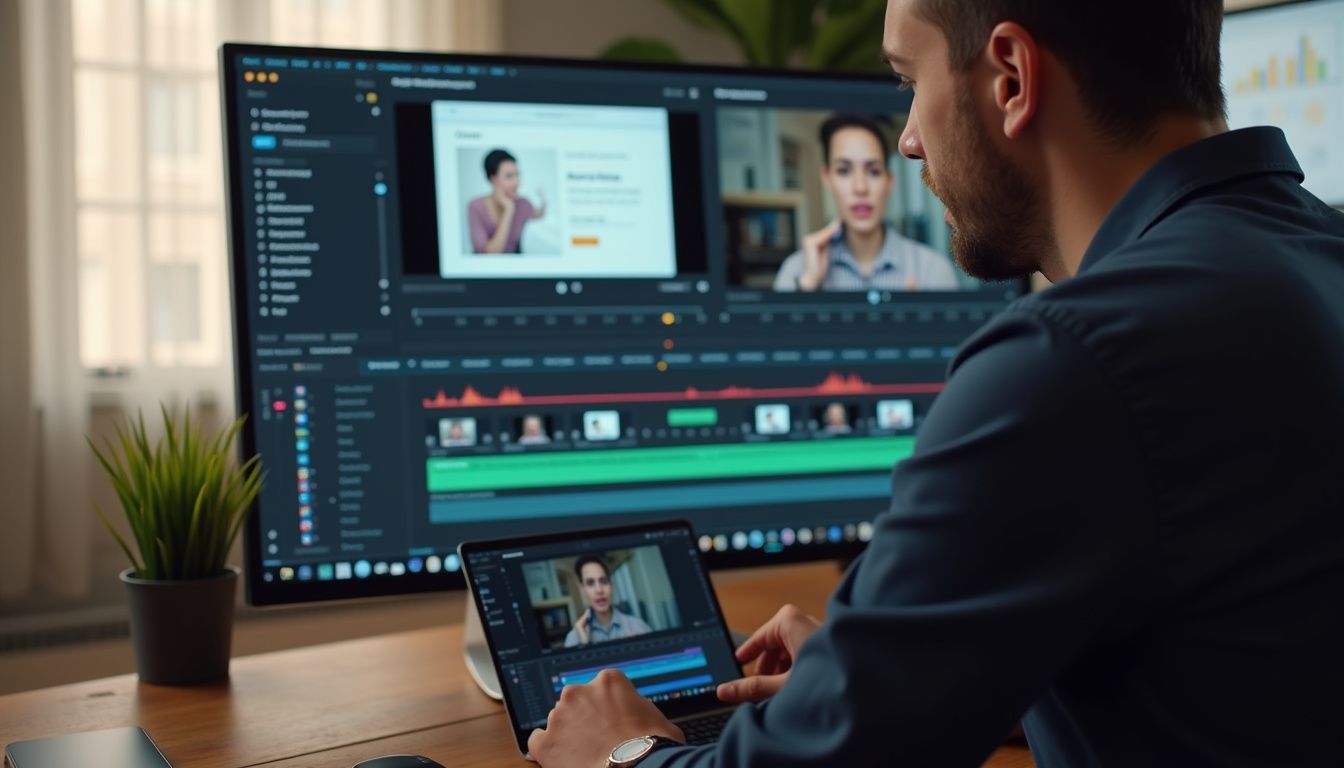
The most effective privacy protection happens before you even start filming. Professional documentary makers and journalists follow a privacy-first workflow that minimizes sensitive data capture rather than relying solely on post-production blur. Start by getting written consent from anyone who will appear identifiably in your footage—signed release forms protect you legally and establish clear expectations about how their image will be used.
When filming in public spaces, use tight framing to limit how many bystanders appear in your shots. A medium close-up of your interview subject captures their words and expressions while naturally excluding most background pedestrians. Shoot with a wide aperture (f/2.8 or lower) to create shallow depth of field—this technique throws the background out of focus, making faces unrecognizable without any editing. Position your subject against walls, fences, or empty spaces rather than busy streets or crowded areas.
Build blur time into your post-production schedule. According to [cyberlink.com](https://www.cyberlink.com/blog/app-video-editing/2570/how-to-blur-face-in-video), professional studios allocate 15-20% of total editing time specifically for privacy protection tasks: reviewing footage for faces, applying blur, checking reflections, and verifying that tracking follows subjects correctly. Rushing this step leads to the mistakes outlined earlier—missed faces, weak blur, or static masks on moving subjects.
Create a pre-upload checklist that you follow religiously before publishing any video containing people. Check that all faces are blurred at the correct intensity (70+). Verify tracking works throughout the entire clip with no gaps. Look for faces in reflections, screens, and background areas. Test your blur by asking someone unfamiliar with your subjects whether they can identify anyone. Only after clearing every item should you export and upload. This systematic approach prevents the irreversible mistake of publishing unblurred sensitive footage.
Finally, keep your original unblurred footage in secure offline storage. Hard drives with encryption, not cloud services. Label files clearly so you know which ones contain sensitive content. Set calendar reminders to delete old project files after a reasonable retention period (6-12 months for most commercial work). The original footage is the greatest privacy risk—if it gets hacked, stolen, or accidentally shared, all your blur efforts become meaningless because the unprotected source material is compromised.