
On this page
- Understanding Image-to-Video AI for Product Advertising
- Preparing Your Product Photos for AI Video Generation
- Three High-Performing Video Ad Formats You Can Create
- Step-by-Step: Generating AI Video From Your Product Photos
- Writing Ad Copy That Converts Before You Touch Editing Tools
- Adding Voiceover and Human Elements That Build Trust
- Essential Editing Rules for High-Converting Video Ads
- Platform-Specific Formatting and Export Settings
- Testing Framework: Finding Winners and Scaling What Works
- Scaling Your Product Photo to Video Ad System
You can create scroll-stopping video ads from a single product photo in under an hour, without touching a camera or hiring a production team. Image-to-video AI has eliminated the traditional barriers to video advertising, making it possible for any ecommerce brand to produce professional motion content at scale.
The results speak for themselves: brands using AI-generated video ads report 2-3x higher engagement rates compared to static images, with production costs reduced by 90%. This isn't about replacing professional video entirely—it's about filling your ad account with enough creative variations to let the algorithm find winners while you focus on scaling what works.
This guide walks through the complete workflow: from selecting and preparing product photos, through AI video generation with specific prompts, to final assembly and platform optimization. Whether you're running Meta ads, TikTok campaigns, or testing multiple channels, you'll learn exactly how to turn your existing product photography into a steady stream of video creative.
Understanding Image-to-Video AI for Product Advertising
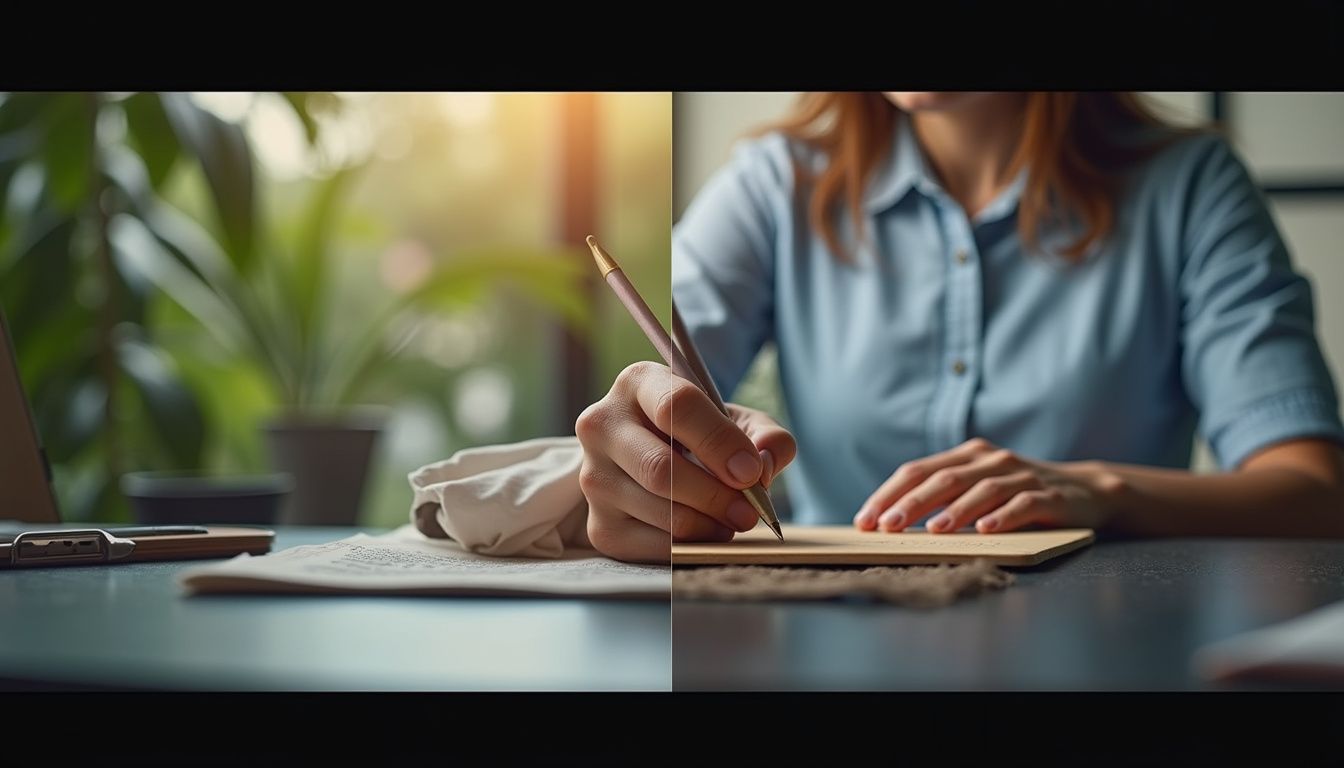
Image-to-video AI tools use machine learning models to analyze static images and generate realistic motion between frames. For product advertising, this technology adds camera movements like zooms and pans, creates depth through parallax effects, and can even animate specific elements within the frame. The key distinction to understand: these tools create motion clips, not complete ads. According to videoai.me, motion-only animation is "closer to a moving billboard than an ad," while a real video ad includes hooks, messages, social proof, and clear calls to action.
The current generation of AI video tools has reached a quality threshold where the output is indistinguishable from professionally shot product footage for most advertising contexts. The technology handles lighting shifts, subtle product rotation, and depth-of-field effects that previously required expensive camera rigs. However, as creativeainews.com notes, success depends heavily on input quality: "A sharp 1080p or larger frame gives the image-to-video model enough edge detail to keep the product from smearing when it moves."
The workflow splits into two distinct paths: simple motion enhancement for premium product showcases, and complete ad creation that layers in copy, voiceover, and platform-specific formatting. Most high-performing campaigns use both approaches in combination, with motion clips serving as B-roll within structured ads that follow proven conversion frameworks. The best results come from treating AI video generation as one step in a larger creative production system rather than a complete solution.
Understanding these distinctions before you start will save hours of trial and error. The tools are powerful, but they're not magic—you still need solid creative strategy, clear messaging, and platform-appropriate formatting to turn animated product photos into ads that actually convert cold traffic into customers.
Preparing Your Product Photos for AI Video Generation
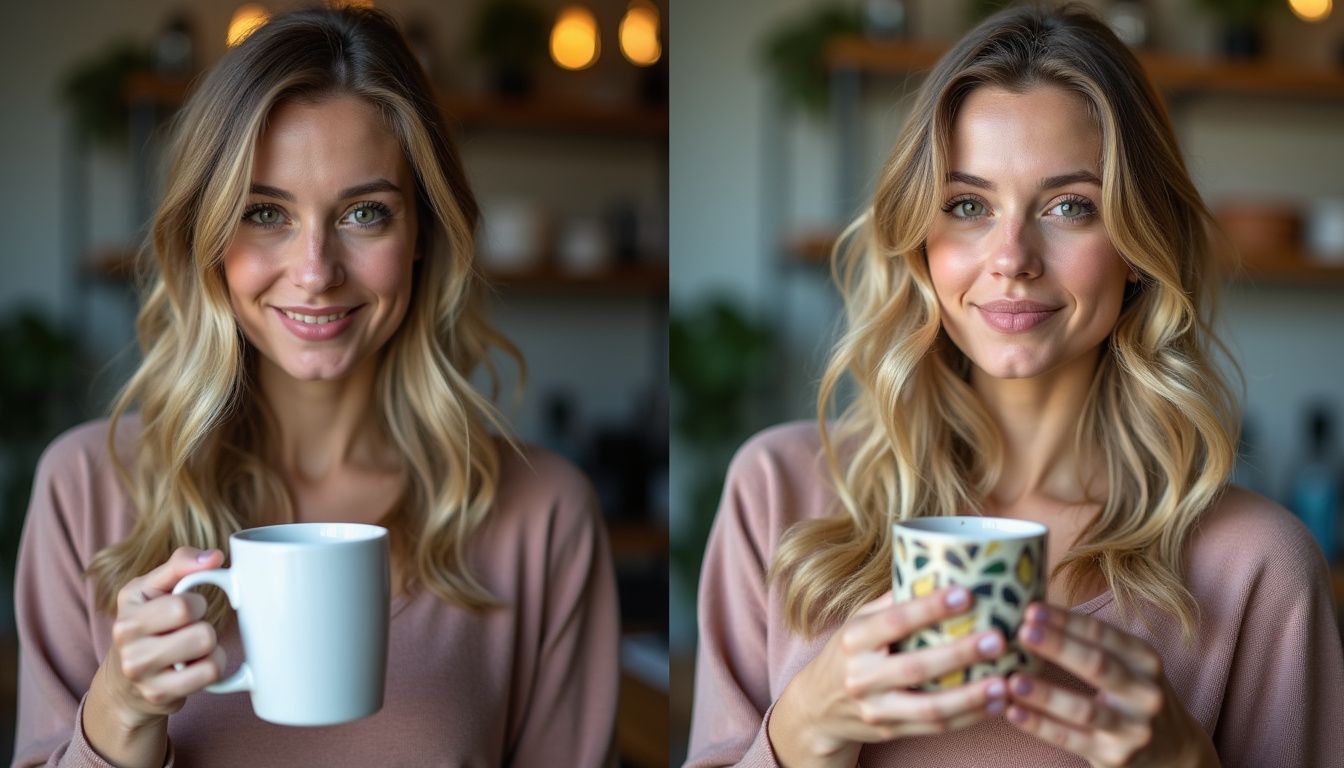
Photo quality determines video output quality, full stop. Start by selecting images where the product fills 60-80% of the frame with clean, even lighting and a simple background. According to creativeainews.com, you should "crop tight so the product fills most of the frame, and remove any background clutter that could confuse the model." AI video generators struggle with busy scenes, uneven lighting, and low-resolution source material, so invest time in cleanup before generation.
For optimal results, your source photos should meet these specifications: minimum 1080p resolution (higher is better), sharp focus on the product with minimal background blur, and consistent lighting without harsh shadows or hot spots. If you're working with existing photography that doesn't meet these standards, use basic photo editing tools to adjust exposure, increase contrast slightly, and remove distracting elements. The goal is to give the AI model clear edges and consistent surfaces to work with during motion generation.
Lifestyle photos and studio shots serve different purposes in your video ad strategy. Studio shots with plain backgrounds work best for hero product reveals and detailed feature demonstrations, while lifestyle imagery creates stronger emotional hooks in opening frames. As videoai.me recommends, "Favor lifestyle frames for the hook and studio frames for the hero shot." Plan to prepare 3-5 photos per product: one lifestyle hook shot, 2-3 angle variations, and one clean studio shot for the closing CTA.
Common preparation mistakes that kill video quality include: leaving in watermarks or text overlays (the AI will warp these), using images with compression artifacts, selecting photos where the product is partially obscured, and choosing frames with extreme lighting conditions. Take the extra 10 minutes to properly prepare each source image—it's the difference between professional-looking output and obviously AI-generated content that viewers scroll past.
Three High-Performing Video Ad Formats You Can Create
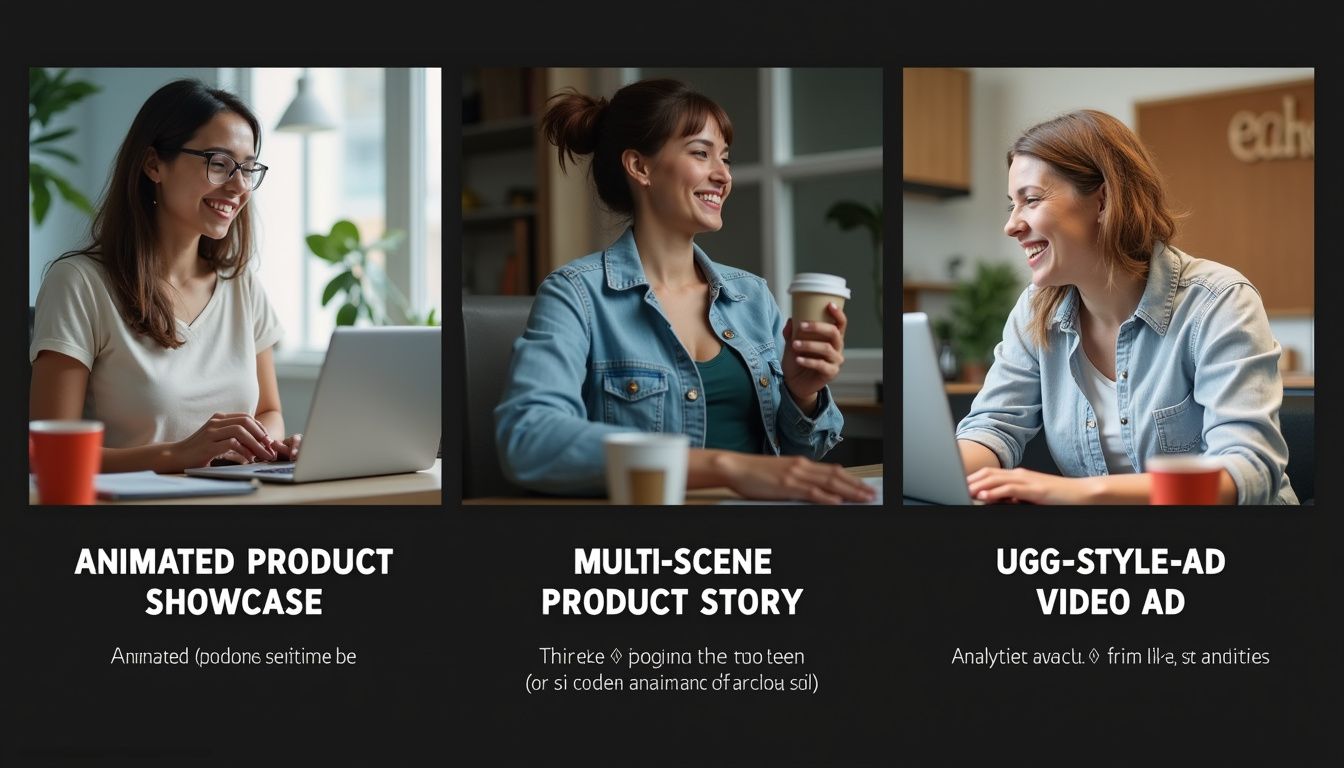
According to adquisition.ai, there are three distinct formats that work for image-to-video product ads, each with its own sweet spot. The animated product showcase is the simplest approach: take a single product photo and add motion through Ken Burns zoom, parallax depth, subtle rotation, or background animation. The product remains the focal point while motion makes it scroll-stopping. This format works exceptionally well for premium products where you want to emphasize quality and craftsmanship.
Multi-scene product stories take 3-5 product photos and stitch them into a narrative sequence. Open with a hook frame, show the product from different angles or contexts, then close with a clear CTA. Add transitions and text overlays that tell a coherent story about the product's value proposition. As adquisition.ai explains, "This is the closest you'll get to a 'real' video ad without filming a single thing." This format gives cold traffic enough information to understand and want the product in 15-30 seconds.
The UGC-style video with text overlays and voiceover is currently the highest-performing format for cold traffic. Take product photos, add large text overlays in a TikTok-native style, layer in a voiceover track, and use quick cuts and zooms to create energy. The result looks like someone made it on their phone, which is exactly why it works—it doesn't feel like an ad. Adquisition.ai notes this might seem counterintuitive, but "it's the highest-performing format right now" precisely because it blends into the native platform experience.
Choose your format based on where you are in the funnel and what you're optimizing for. Animated showcases work for retargeting and brand awareness, multi-scene stories excel at mid-funnel education, and UGC-style ads crush it for cold traffic acquisition. The most successful campaigns test all three formats with the same product, letting the platform algorithm determine which performs best for each audience segment.
Step-by-Step: Generating AI Video From Your Product Photos
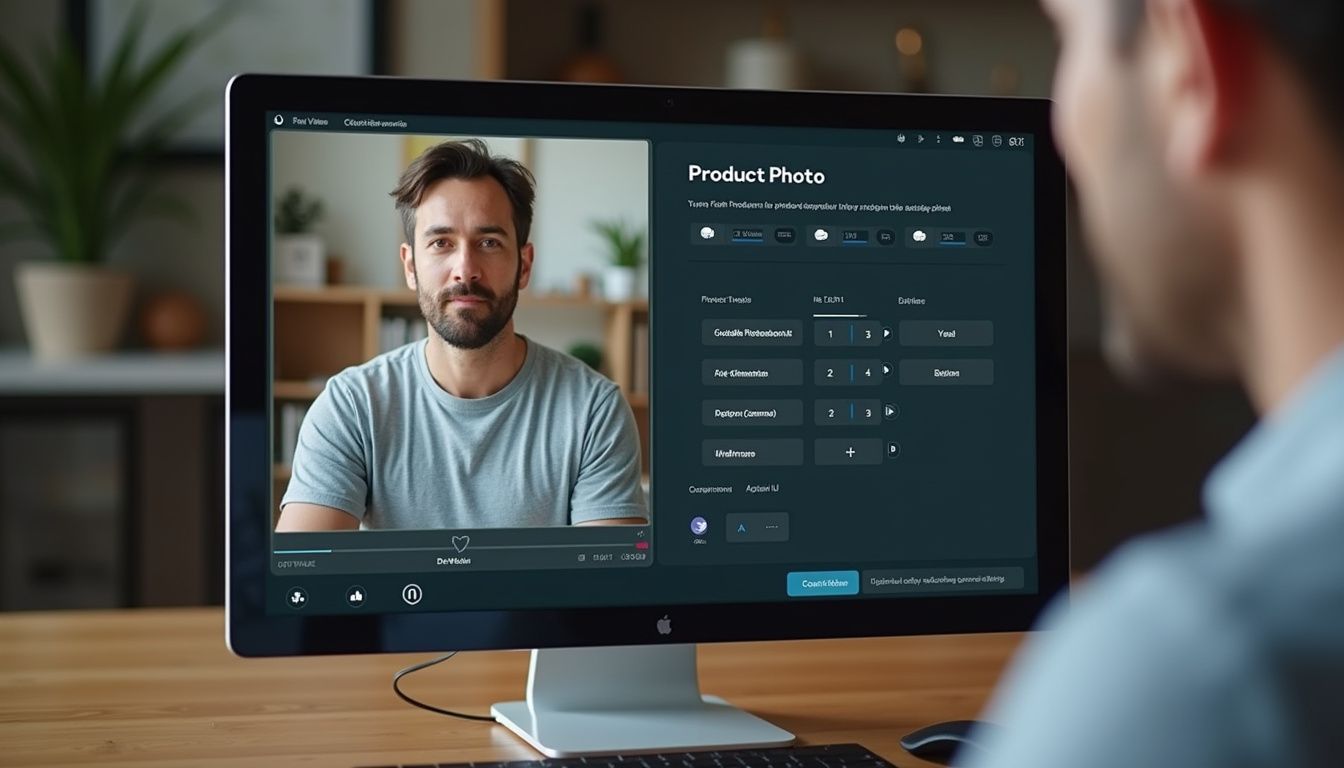
Start by uploading your cleaned product photo to your chosen AI video generation tool. Write a motion prompt that describes two specific things: the camera move and the subject behavior. As creativeainews.com advises, keep it concrete: "Slow push-in on the bottle, soft studio light, gentle rotation, shallow depth of field" beats vague instructions like "make it cinematic." The more specific your prompt, the more predictable and controllable your output becomes.
Generate your first clip at the shortest duration available, usually 5 seconds, to keep iteration costs low. A sample prompt from coinis.com demonstrates the level of detail that produces professional results: "Slow orbit around the product, soft steam rising from a coffee cup beside it, warm morning light shifting across the ceramic surface, shallow depth of field, 6 seconds, cinematic product commercial style, no text overlays." Notice how this prompt specifies camera movement, environmental elements, lighting, technical parameters, duration, and style—every element the AI needs to generate exactly what you want.
Plan to generate 2-3 variations per photo with slightly different prompts, then select the cleanest output. Common motion types that work well for products include: slow push-in or pull-out for reveal moments, gentle orbit or 360-degree rotation for feature demonstration, parallax depth shifts for lifestyle scenes, and subtle zoom with lighting sweeps for premium feel. As videoai.me recommends, "Prompt for one clear motion per clip rather than several at once" to avoid confusing the model and getting muddy results.
Export settings matter as much as generation quality. Generate clips in the highest resolution your tool offers, and if possible, create versions in multiple aspect ratios from the start: 9:16 for Stories and Reels, 1:1 for Feed, and 4:5 for mobile-optimized Feed placements. Having all three ratios ready means Meta can serve your ad wherever it performs best, maximizing your reach and keeping costs down through better placement optimization.
Writing Ad Copy That Converts Before You Touch Editing Tools
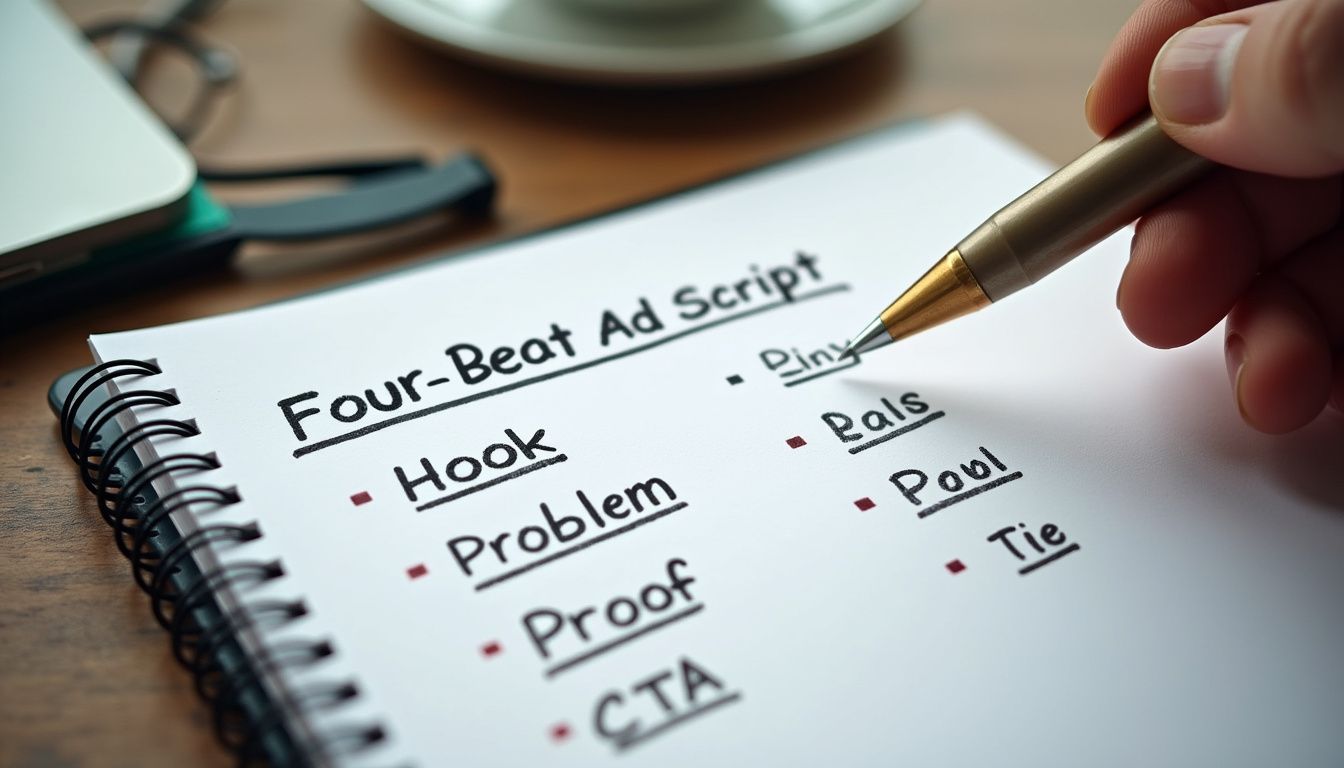
Before you start assembling clips, write your ad script using the four-beat framework that converts cold traffic. According to videoai.me, every converting ad needs these elements: Hook (stop the scroll in 3 seconds), Problem (name the pain), Proof (show the product solving it), and CTA (tell them what to do). Write one punchy line for each beat before you touch any editing software.
Here's what this looks like in practice, using the framework from videoai.me: Hook - "I tried 4 of these and only one actually worked," Problem - "My old one left streaks every single time," Proof - "This one wiped clean in one pass," CTA - "Tap the link and grab yours, link in bio." Each line serves a specific job, and together they take a viewer from scroll to click in under 30 seconds. This structure works because it mirrors natural conversation while hitting every psychological trigger needed for direct response.
The hook line determines whether anyone sees the rest of your ad, so invest the most time here. Effective hooks create curiosity through contradiction ("I was wrong about..."), make bold claims ("This changed everything"), pattern interrupt with unexpected statements ("Stop buying [product category]"), or leverage social proof ("After 1000 orders, here's what I learned"). Test 3-5 different hook variations with the same product and video footage to isolate what messaging resonates with your audience.
Write your script in the second person ("you") and keep each line under 10 words. Shorter lines are easier to caption, easier to speak naturally if you're adding voiceover, and more likely to be read completely before someone scrolls. The goal is conversation, not marketing speak—write like you're texting a friend about a product you genuinely love. This authenticity is what makes AI-generated video ads feel native to social platforms rather than like traditional advertising.
Adding Voiceover and Human Elements That Build Trust
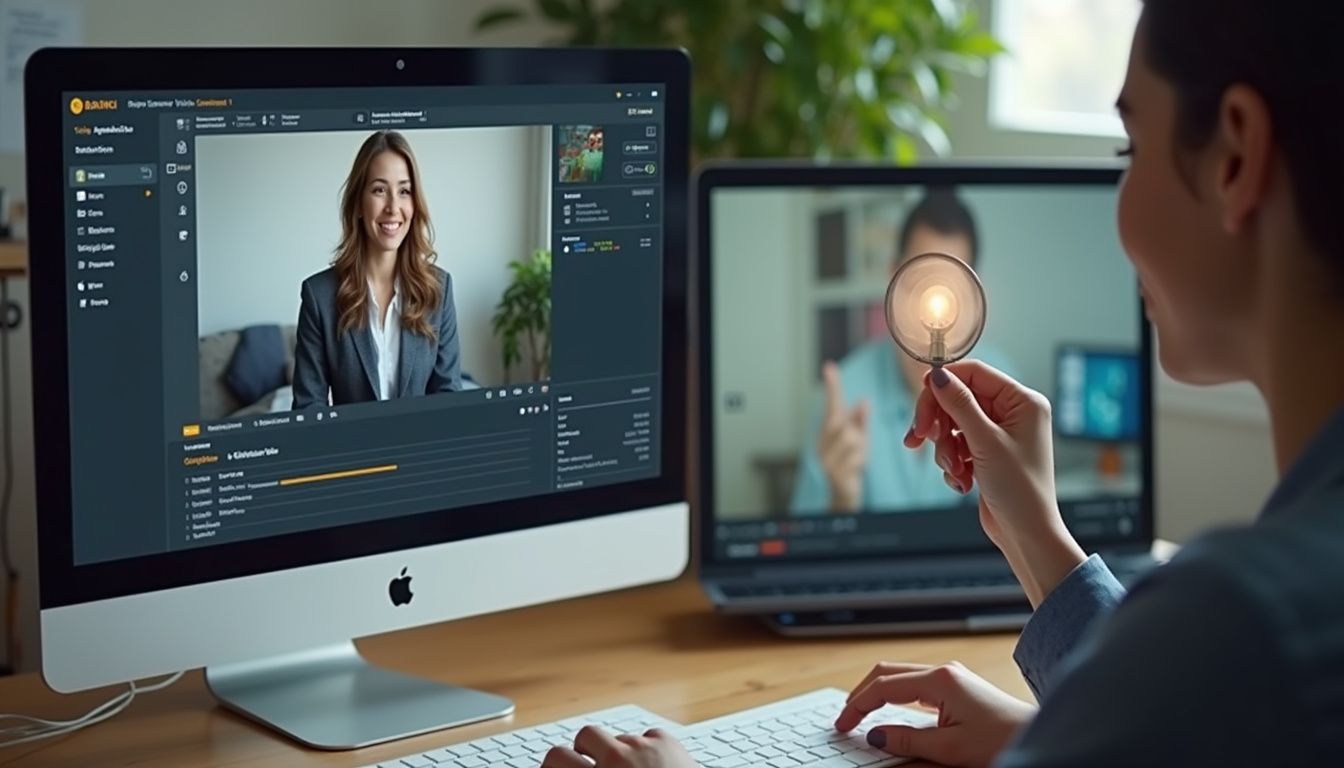
Voiceover transforms animated product photos from interesting visuals into persuasive ads. According to videoai.me, adding a human element through AI avatars creates a "talk-to-camera style" that converts because viewers perceive it as "a real person recommending the product" rather than a brand pushing a sale. This psychological shift is massive—you're moving from interruptive advertising to helpful recommendation.
Generate your voiceover by feeding your four-beat script into an AI voice tool, selecting a voice that matches your brand personality and target demographic. For most ecommerce products, conversational voices with moderate pace and natural inflection outperform overly polished or announcer-style voices. The goal is to sound like a satisfied customer sharing their experience, not like a traditional commercial. Record 2-3 voice variations with slightly different emotional tones, then test them against each other in live campaigns.
If you're using AI avatar presenters, position them in the opening hook and closing CTA sections, cutting to animated product clips during the proof section. This structure lets viewers connect with a "person" at the beginning, see detailed product benefits in the middle, then return to the presenter for the call to action. Creativeainews.com emphasizes matching visual beats to narration: "Drop the video clip and the voiceover onto a timeline in your editor, then trim the clip so the visual beat matches the narration."
The most important technical consideration: keep voiceover volume consistent and slightly louder than background music (if you use it). However, never rely solely on audio to communicate key information. Around 85% of Facebook video is watched without sound, according to adquisition.ai—if your ad requires sound to make sense, you're losing the vast majority of your audience before they even unmute.
Essential Editing Rules for High-Converting Video Ads
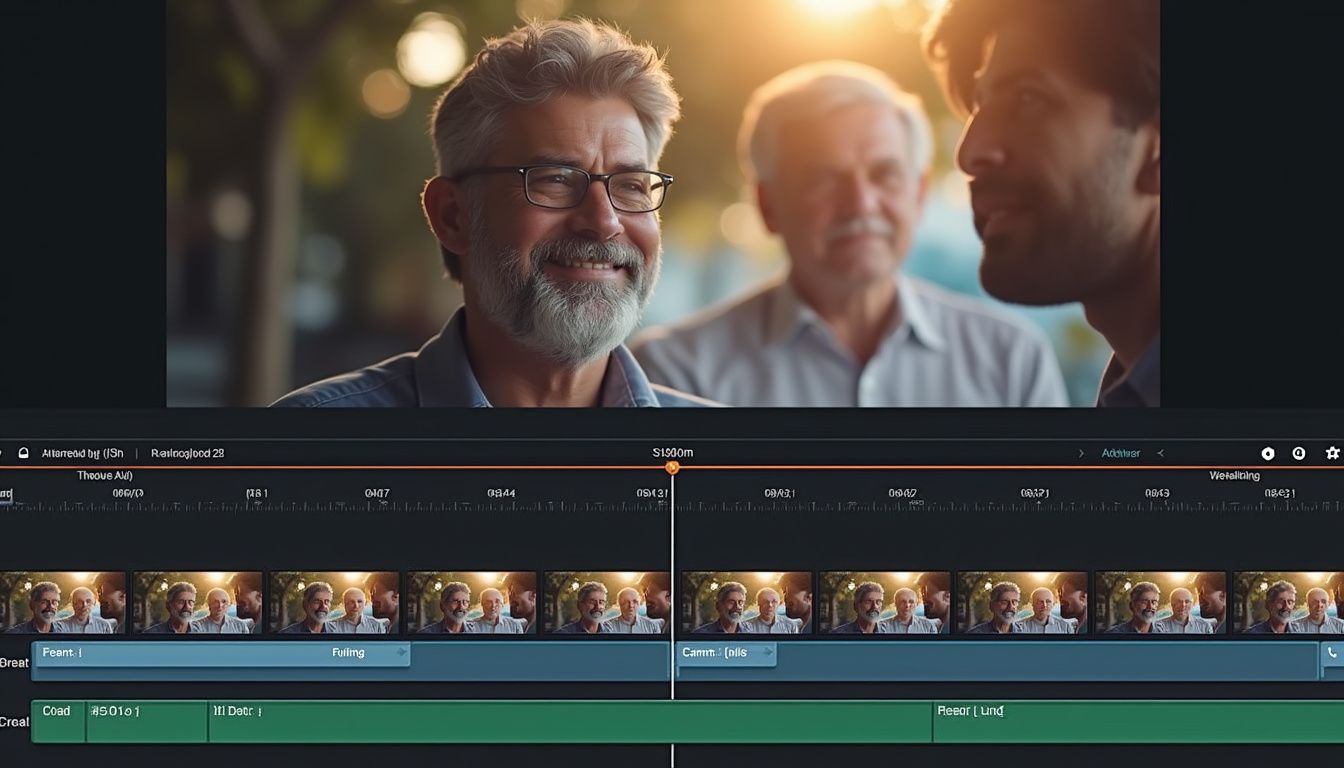
Assembly is where good clips become great ads. According to videoai.me, the structure should follow this sequence: "Open on the presenter or the strongest visual with your hook line in the first 3 seconds. Cut to the problem, then to the animated product clip as proof. Layer bold, short captions the whole way through. End on a clear CTA card and spoken call to action." Every edit decision should serve one of these four beats.
Motion in the first second is non-negotiable. Adquisition.ai emphasizes leading "with motion in the first second" because platform algorithms prioritize videos that stop scrolling immediately. Start with your most dynamic clip—a dramatic zoom, a product reveal, or an attention-grabbing presenter movement—then settle into your message. The first frame determines whether the algorithm shows your ad to more people, so make it count.
Captions are mandatory, not optional. With 85% of video watched on mute, every key piece of information must appear as on-screen text. Use large, bold fonts with high contrast (white text on dark background or vice versa), position text in the center third of the frame where eyes naturally land, and change captions in sync with speech patterns or scene cuts. Adquisition.ai is blunt: "If your video relies on voiceover or music to get the message across, you're losing the vast majority of your audience before you even start."
Keep total length under 15 seconds for Stories and under 30 seconds for Feed, according to adquisition.ai. Shorter isn't always better, but every second needs to earn its place. If a clip or line doesn't advance the hook-problem-proof-CTA narrative, cut it. Add a music bed at low volume (around -20dB) for rhythm and energy, but keep it subtle enough that it supports rather than distracts. End with your strongest CTA both spoken and displayed as text, ideally with some kind of urgency or reason to act now.
Platform-Specific Formatting and Export Settings
Platform requirements differ significantly, and formatting correctly can double your effective reach. According to videoai.me, you need to export three aspect ratios: 9:16 vertical for TikTok, Reels, and Shorts; 1:1 square for Feed; and 4:5 mobile-optimized for mobile Feed placements. The optimal length varies by platform: 15-30 seconds for TikTok, Reels, and Meta Feed, and 15-30 seconds for YouTube in-stream ads.
Meta's Advantage+ creative system requires all format variations to maximize delivery. Adquisition.ai explains the strategy: "Export each video in all three aspect ratios (9:16, 1:1, 4:5). Then use Bulk Meta Upload to push everything into your ad account at once. Put video and static variants in the same ad set so Advantage+ creative can figure out which format works best for each placement." Having multiple formats ready means the algorithm can optimize placement automatically rather than forcing your content into unsuitable dimensions.
Technical export settings matter for quality and load times. Export at 1080p minimum resolution, use H.264 codec for maximum compatibility, set frame rate to 30fps (matching most phone cameras), and aim for 5-8 Mbps bitrate for balance between quality and file size. Most platforms compress your uploads anyway, but starting with clean exports gives you the best chance of maintaining quality through their compression pipeline. Include burned-in captions rather than relying on platform caption tools, which often fail on mobile devices.
Platform-specific considerations: TikTok favors native-looking content with visible TikTok Creator Marketplace aesthetics, so lean into the UGC format there. Instagram prioritizes high-quality visuals, making it ideal for your most polished animated product showcases. Facebook Feed audiences tolerate longer formats and more direct selling, so your 30-second multi-scene stories often perform best there. Test the same core creative reformatted for each platform's unique context rather than running identical ads everywhere.
Testing Framework: Finding Winners and Scaling What Works

Systematic testing beats random iteration every time. Videoai.me recommends this approach: "Pick your 20 best-selling products, generate a few ad variations for each changing only the hook, run them for about a week, find the one or two winners, then make more variations of those, move to the next batch of products." This framework ensures you're always testing with purpose rather than throwing creative at the wall hoping something sticks.
The most important test is video versus static versions of the same concept. According to adquisition.ai, you should "take a winning static ad, create a video version with the same concept, angle, and hook. Run them head to head." This isolates the impact of motion versus messaging, helping you understand whether video format itself drives performance or if your concept needs work. Often you'll find that a mediocre static ad becomes a winner when converted to video, or vice versa.
Structure your ad sets to give the algorithm enough signal without spreading budget too thin. Put 3-5 creative variations in each ad set, mixing video and static formats but keeping the core offer and audience consistent. Let them run for at least 4-5 days or until you have 50+ conversions per variation before making decisions. Early winners often fade, and slow starters sometimes become your best performers once the algorithm finds their audience. Patience in testing saves money in scaling.
Track the right metrics for decision-making. For cold traffic, focus on cost per click and click-through rate first—these tell you if people want to learn more. For warm traffic and retargeting, cost per purchase and return on ad spend are your north stars. Hook rate (percentage who watch past 3 seconds) helps diagnose creative issues: low hook rate means your opening frame or concept isn't grabbing attention, while high hook rate with low conversion rate suggests a message-match problem between creative and landing page.
Scaling Your Product Photo to Video Ad System

Once you've identified winning formats and hooks, build a production system that turns out variations at scale. Coinis.com emphasizes that "raw video output is a clip, an ad is a clip plus hook copy, captions, pacing, and a CTA, packaged to the spec of the platform you are running it on." Systemize each component separately: photo preparation, video generation, script writing, voiceover creation, assembly, and export. When each step follows a documented process, you can train team members or contractors to execute while you focus on strategy.
Template your winning structures. Once an ad format proves itself, create an editable template that preserves timing, caption placement, transition styles, and CTA formatting. You should be able to drop in new product clips and update script lines without rebuilding the entire edit. Most professional teams maintain 5-10 proven templates covering different ad formats and funnel stages, then produce variations by swapping products and hooks rather than starting from scratch each time.
Batch your production work for efficiency. Dedicate one session to preparing 20-30 product photos, another to writing 50-100 hook variations, another to generating all your video clips, and another to assembly and export. Context switching kills productivity—when you're in "photo prep mode" or "script writing mode," stay there until the batch is complete. This approach can reduce the time per finished ad by 60% compared to producing ads one at a time from start to finish.
The compound effect of this system is remarkable. A brand with 50 products can generate 5 ad variations per product (250 total ads) in about 40 hours of work—less than one work week. Those 250 variations give the platform algorithm enough creative options to optimize aggressively, find micro-audiences, and scale profitably into channels that seemed saturated. Your competitive advantage isn't better products or bigger budgets, it's the ability to produce and test creative faster than competitors can keep up with.